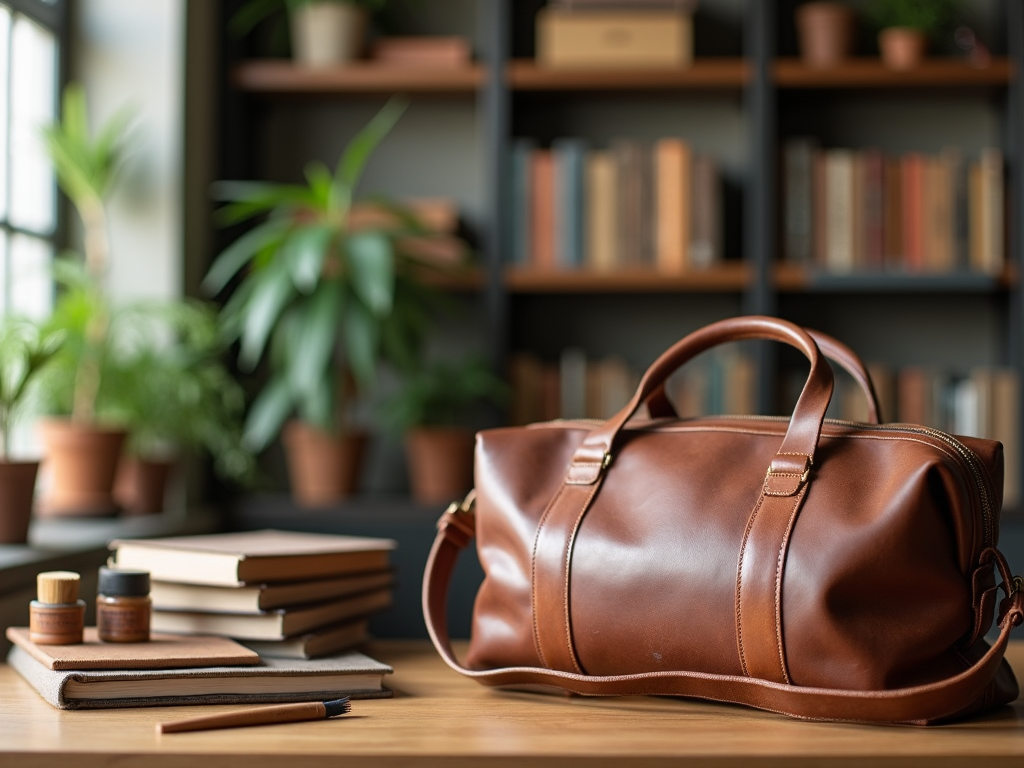
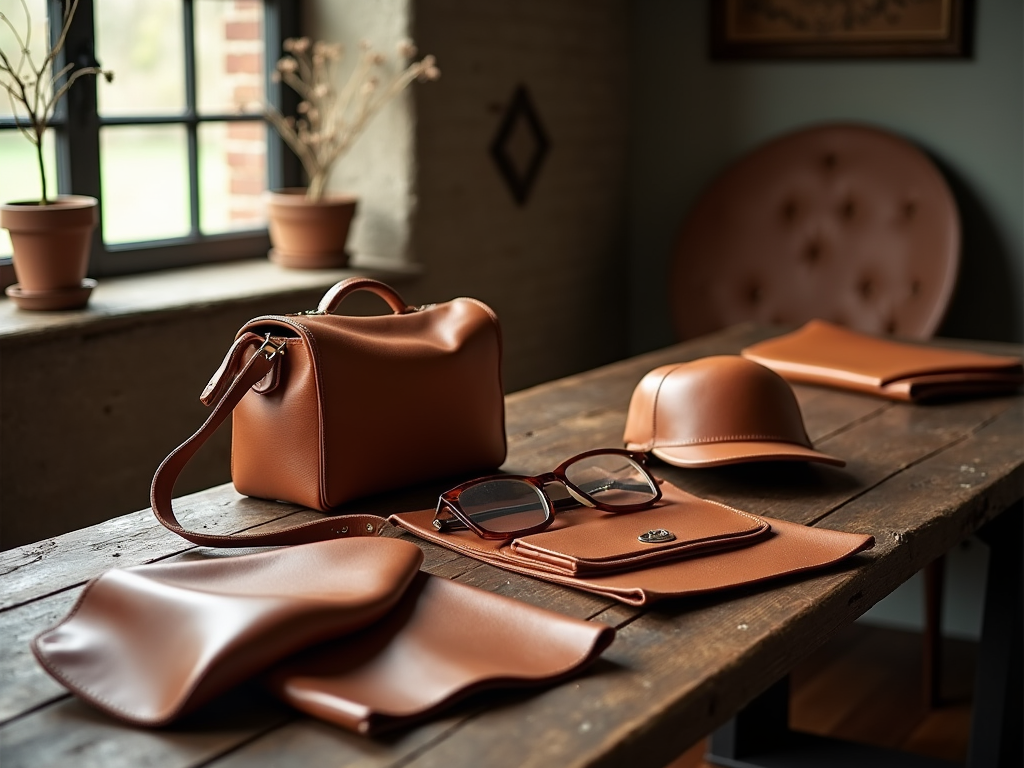
Leather is more than just a material; it’s a statement. Owning leather items, whether it be clothing, shoes, or accessories, means investing in quality and style. Yet, with great style comes the responsibility of proper maintenance. Over time, dirt, oils, and stains can accumulate, compromising the elegance and integrity of your cherished pieces. The good news is that cleaning leather is simplified to just a few essential steps. In this guide, we will explore how to beautifully maintain your leather to extend its life and preserve its charm.
When looking to clean your leather belongings, using the right products is crucial. Leather is sensitive, and harsh chemicals can lead to irreversible damage. It’s essential to approach cleaning with care and a good understanding of the material. This article will unfold a methodical way of cleaning leather in just five easy steps. Through these steps, anyone can restore their leather items to their former glory while keeping them nourished and protected.
Step 1: Gather Your Cleaning Supplies

The first step to cleaning your leather clothes and accessories is to gather the right supplies. This will not only make the process smoother but will also ensure the effectiveness of your cleaning. Here’s a list of essentials you should have on hand:
- Soft, lint-free cloths
- Leather cleaner (pH-balanced)
- Leather conditioner
- Soft-bristle brush
- Warm water
Using proper leather-specific products is crucial. Avoid items containing alcohol or bleach, as they can strip the leather of its natural oils. Instead, opt for gentle cleaners and conditioners that are designed specifically for leather. These products will penetrate the material without causing harm.
Step 2: Test a Small Area

Before diving into the cleaning process, it’s wise to test your products on a small, inconspicuous area of your leather item. This will help to avoid any potential discoloration or damage. Choose an area that is hidden, such as the inside of a jacket or the bottom of a purse. Apply a small amount of the cleaner and let it sit for a few minutes. Observe how the leather reacts. If there’s no change in color or texture, you’re good to go.
Step 3: Remove Dirt and Debris
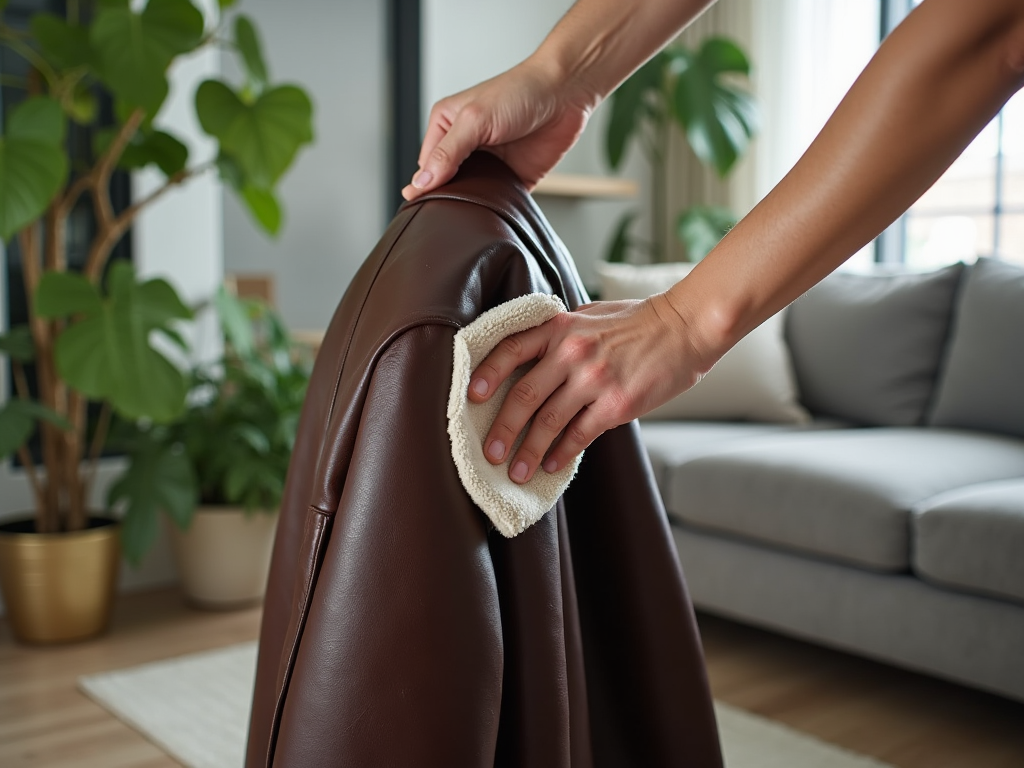
Removing dirt and debris is vital for effective cleaning. Start by gently brushing the surface of the leather with a soft-bristle brush to dislodge any surface particles. Next, use a damp, lint-free cloth to wipe down the piece, focusing on creases and folds where dust tends to accumulate. Always move in the direction of the leather grain to prevent scratches.
For items with stubborn stains or grime, consider these additional tips:
- For ink stains, gently dab with rubbing alcohol on a cotton pad, being careful not to saturate the area.
- For oil stains, sprinkle cornstarch over the stain, leave it overnight, and then brush it off the next day.
- For sticky substances, use a mild soap solution but always test first.
| Stain Type | Cleaning Method | Time Required |
|---|---|---|
| Ink | Rubbing alcohol on cotton | 5 minutes |
| Oil | Cornstarch overnight | 12 hours |
| Sticky Residue | Mild soap solution | 10 minutes |
Step 4: Apply Leather Cleaner
After ensuring the surface is free of debris, it’s time to apply the leather cleaner. Use a clean cloth to apply a small amount of the cleaner evenly across the surface. The key here is moderation; don’t soak the leather. Instead, use enough to lightly cover it without saturating it. Work the cleaner into the leather in gentle circular motions.
Once applied, allow the cleaner to penetrate the leather for a few minutes. This will help to break down any unwanted particles trapped within the material. Wipe off any excess cleaner with a different clean cloth, and ensure no residue is left behind.
Step 5: Condition the Leather
The final step in your leather care routine is conditioning. Conditioning is essential, as it restores moisture and keeps the leather supple. Choose a conditioner that is suitable for your leather type and apply it the same way as the cleaner—using a soft cloth in circular motions.
Make sure to cover the entire surface evenly. Then, let the conditioner sit as per the product’s recommendations, often around 10-15 minutes. Afterward, buff it with a clean cloth to restore shine. Regular conditioning helps prevent cracking and prolongs the life of your leather pieces.
Conclusion
Maintaining leather clothes and accessories doesn’t have to be a daunting task. By following these five easy steps, you can ensure that your prized leather items remain in excellent condition for years to come. Regular cleaning and conditioning can dramatically extend the lifespan of your leather, allowing it to retain its beauty and functionality. Remember, taking the time to care for your leather investments not only enhances their appearance but also protects your investment in quality craftsmanship. Make leather care a part of your routine to enjoy its elegance every day!
Frequently Asked Questions
- How often should I clean my leather items? It’s recommended to clean leather items every few months, or more frequently if they are used regularly.
- Can I use regular soap to clean leather? No, regular soap can strip leather of its natural oils. It’s best to use products specifically designed for leather.
- What should I do if my leather gets wet? Gently blot excess moisture with a clean, dry cloth and allow it to air dry away from direct heat.
- Is it safe to use vinegar on leather? While vinegar can be used in small amounts to address specific stains, it’s crucial to dilute it and test it on a small area first.
- How can I prevent my leather from cracking? Regular conditioning and avoiding exposure to extreme temperatures will help maintain the leather’s suppleness.


