Painting your front door can significantly enhance the curb appeal of your home. The right color and technique can transform an ordinary entrance into a welcoming focal point. In this article, we will explore expert tips and step-by-step instructions to achieve a professional look that not only refreshes the aesthetic of your home but also adds value. Get ready to learn how to paint a front door like a pro to make a lasting impression.
Choosing the Right Color and Finish
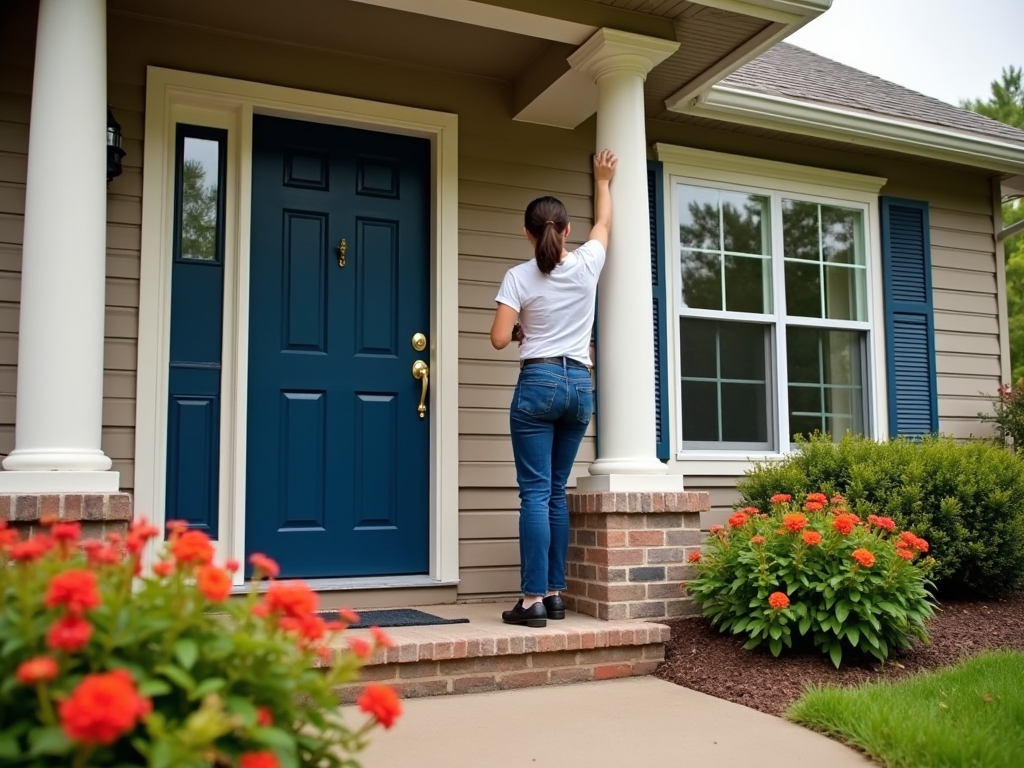
The first step in painting your front door is selecting the right color and finish to complement your home’s exterior. Experts recommend considering the architectural style of your home and the surrounding environment. For example, a bold red or navy can add a modern touch, while pastel hues work well with traditional settings. Remember that the color should harmonize with the rest of your home’s color palette.
Additionally, choosing the appropriate finish is essential for durability and aesthetic appeal. High-gloss finishes offer a sleek look and greater protection against weather elements, while satin finishes provide a softer, more subdued appearance. Consult with a paint specialist to determine the best option for your specific door material and location.
Gathering the Right Tools and Materials
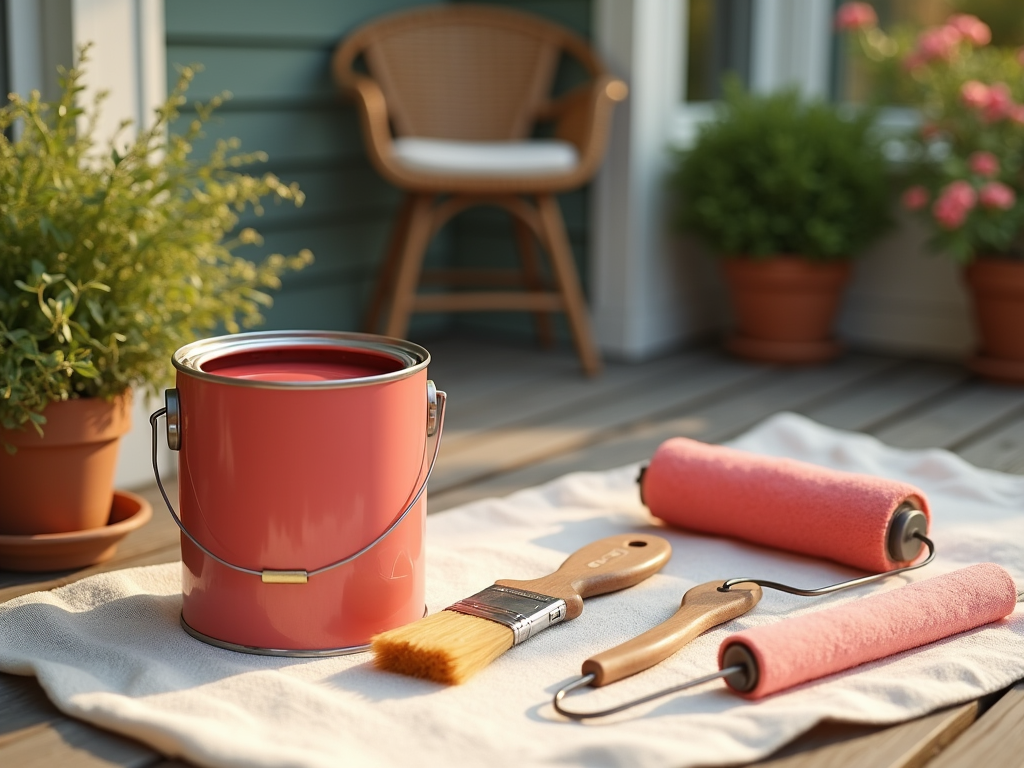
Before beginning the painting process, gather all necessary tools and materials to ensure a smooth workflow. This preparation can save time and help avoid frustration. Here’s what you’ll need:
- Paintbrushes and rollers
- Drop cloths
- Painters’ tape
- Sandpaper
- Primer and paint
- Screwdriver (for hardware removal)
Having these items on hand ensures you won’t have to pause in the middle of your project to make a trip to the hardware store. Proper preparation is key to efficient and effective execution.
Preparation is a crucial step and often determines the success or failure of your painting project. Start by removing all hardware, such as handles and locks, to prevent any paint drips or smudges. If possible, remove the door from its hinges and place it horizontally on a pair of sawhorses for easier access and better control.
Next, thoroughly clean the door to remove any dust, dirt, or grease. Use a mild soap and water solution, followed by a rinse with clean water. Once dry, sand the surface lightly to create a smooth canvas for the primer. This process will help the primer and paint adhere better. Be sure to wipe away any sanding dust with a damp cloth before moving on to the next step.
Applying Primer and Paint
Applying primer is a critical step that many people overlook. A good quality primer provides a solid base for the paint and ensures better adhesion and longevity. Choose a primer suitable for your door’s material and environment. Apply it evenly using a brush or roller, making sure to cover all surfaces, including edges and corners.
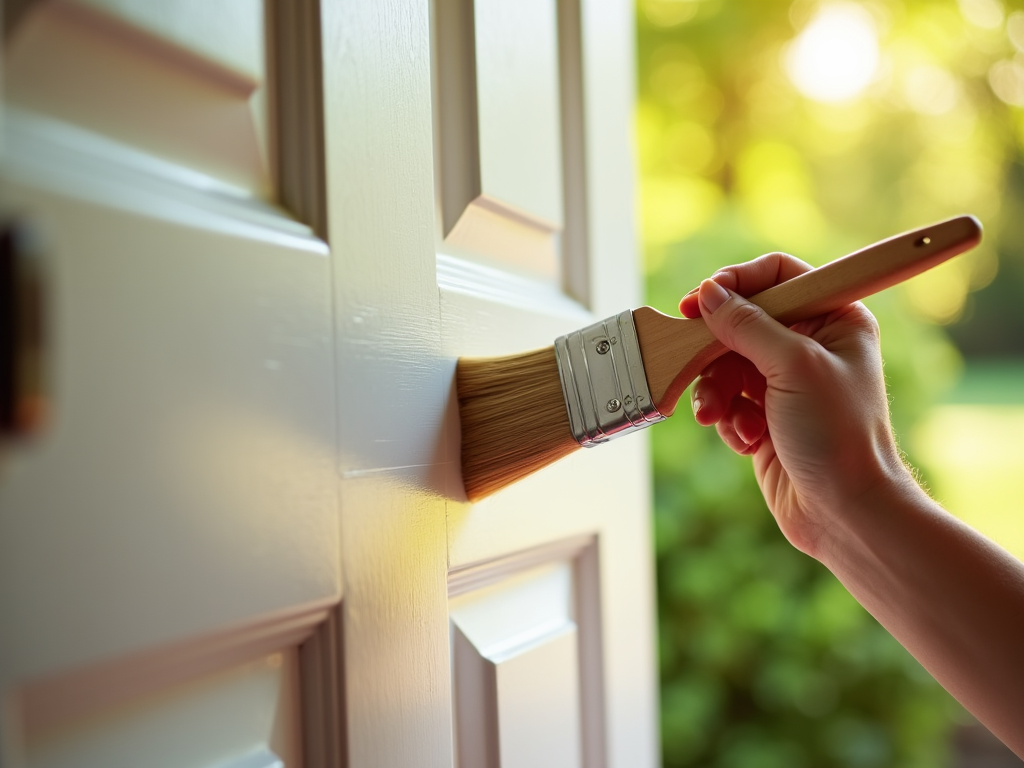
Once the primer is completely dry, it’s time to paint. Apply the paint using smooth, even strokes, starting from the edges and working your way inwards. Typically, two coats of paint are recommended for a durable finish. Allow adequate drying time between coats to prevent smearing. Be sure to follow the manufacturer’s instructions regarding drying times.
Reassembling and Finishing Touches
After the final coat of paint has dried, it’s time to reassemble your door. Carefully reattach the hardware and any accessories you removed earlier. If you removed the door for painting, enlist an extra pair of hands to help rehang it.
Once the door is back in place, inspect it closely for any touch-ups that may be needed. Clean any remaining smudges or spots with a damp cloth. Finally, step back and admire your handiwork. A beautifully painted front door not only enhances your home’s curb appeal but also offers a sense of pride in a job well done.
Conclusion
Painting a front door can dramatically enhance your home’s curb appeal and provide a fresh, welcoming entrance. By carefully choosing a color and finish, preparing properly, and applying primer and paint with precision, you can achieve a professional-looking result. The steps outlined above are designed to guide you through this process smoothly, ensuring a beautiful and durable outcome. With a little effort and attention to detail, your front door can become a stunning focal point that reflects your personal style.
Frequently Asked Questions
1. How do I choose the best paint color for my front door?
Consider the architecture of your home, the surrounding environment, and your personal style. A bold color can add a modern touch, while traditional hues blend well with classic styles. Always ensure the color complements the existing exterior palette.
2. Can I paint my door without removing it from the hinges?
Yes, you can paint your door without removing it, but taking it off the hinges helps achieve a more even and controlled application. If you choose to leave it hanging, make sure to tape off areas and lay down protective coverings to catch any drips.
3. How long should I wait between coats of paint?
It depends on the paint manufacturer’s recommendations, but generally, waiting at least 4 to 6 hours between coats is advisable. Always ensure the previous coat is completely dry before applying the next one to avoid smearing.
4. What finish is best for a front door?
High-gloss finishes are preferred for their durability and sleek appearance, especially if your door is exposed to harsh weather. However, satin finishes can offer a more traditional look that might suit some architectural styles better.
5. Why is primer necessary when painting a front door?
Primer provides a smooth base that improves paint adhesion, ensuring longevity and even color distribution. It helps prevent peeling and chipping, especially in high-traffic areas like a front entrance.