When it comes to home upkeep, many homeowners overlook the significance of a properly leveled toilet. It’s more than just a matter of aesthetics; a toilet that is not level can lead to unwanted issues such as leaks, unpleasant odors, and inefficient flushing. Diving into the world of DIY plumbing, specifically toilet leveling, unveils a necessary skill for every homeowner. Understanding how to assess and correct the leveling of your toilet can save you not only time and money but also prevent considerable hassle in the long run. This comprehensive guide will explore everything from essential tools to step-by-step instructions, ensuring you feel equipped to handle this task confidently. With a little patience and the right approach, you can easily achieve a perfectly balanced toilet that functions efficiently.
Understanding the Importance of a Level Toilet
A level toilet is a cornerstone of bathroom comfort and functionality. Moreover, when a toilet is tipped even slightly, water can accumulate on one side, potentially leading to leaks or water damage. Even minor misalignments can create gradual wear on the wax ring seal, resulting in costly repairs. A level toilet not only ensures effective flushing but also enhances your bathroom’s overall appearance. Consequently, preventing minor issues today can lead to substantial savings tomorrow, making this task crucial for any homeowner. Ultimately, a well-implemented leveling process contributes to the longevity of your plumbing fixtures.
Tools and Materials Needed for Leveling Your Toilet
Before you dive into the project, it’s important to gather essential tools and materials. Having everything ready not only expedites the process but also minimizes disruptions. Ensure you have the right items at hand to make the task smoother and more enjoyable. Below is a list of the tools required:
Essential Tools
- Adjustable wrench
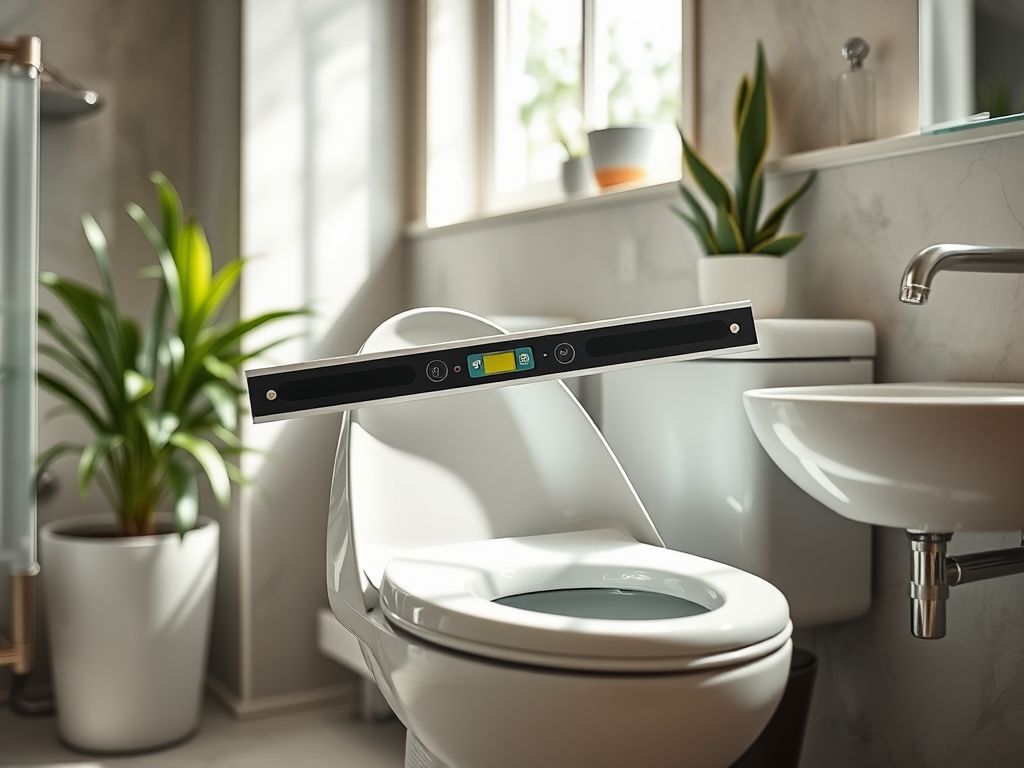
- Level
- Plumber’s putty
- Screwdriver
- Bucket and sponge for any water spills
- Shims (plastic or wooden)
Next, consider the materials you need. Your toilet leveling project may require specific items to ensure a proper installation. Once you have the tools ready, it’s wise to assemble any necessary materials beforehand so no delays occur. Refer to the list below for what you might need:
Materials to Have Ready
- New toilet flange (if needed)
- Wax ring
- Caulk (for sealing around the base)
Steps to Level Your Toilet
Leveling your toilet involves a systematic approach with various stages to ensure effective results. By following these steps closely, you can achieve a well-leveled toilet without the need to call in a professional. Begin your project by preparing the area to facilitate a smooth process. Here’s how you can start effectively:
Preparing the Area
- Turn Off the Water Supply: Locate the shut-off valve and turn it to stop the water flow.
- Empty the Toilet: Flush the toilet to remove as much water as possible and use the sponge to soak up any remaining water.
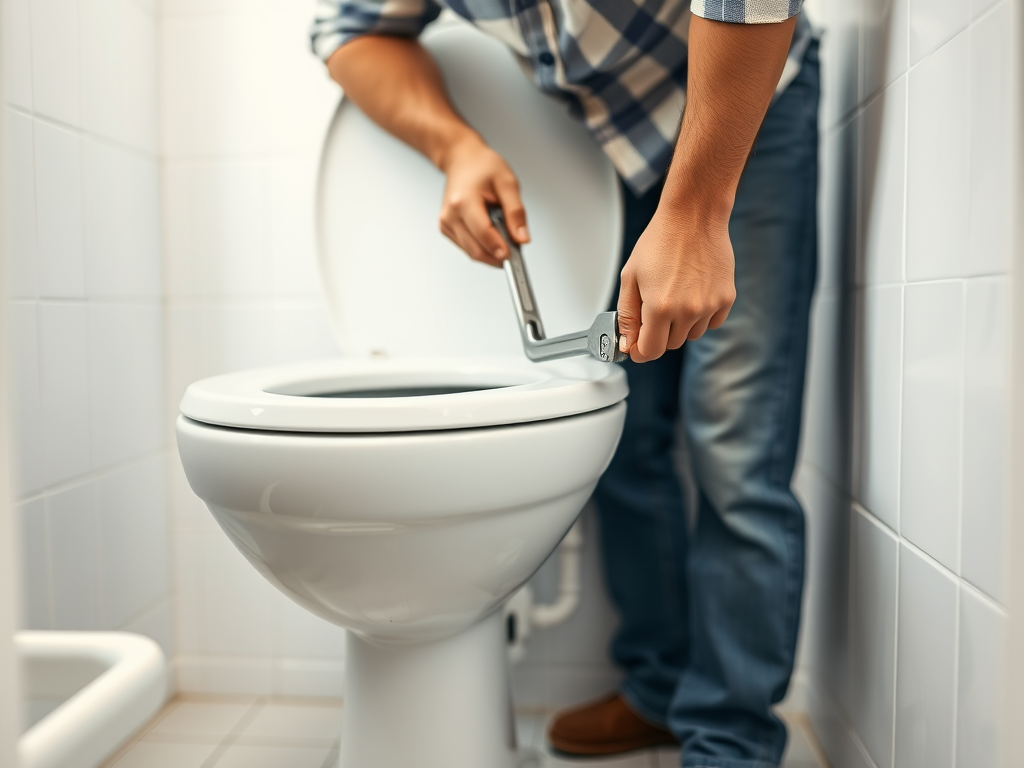
- Disconnect the Toilet: Use your adjustable wrench to disconnect the water supply line.
Once the area is prepared, you will need to remove the toilet from its base to inspect its condition. Be cautious during this stage to avoid damaging the toilet or surrounding fixtures. After removing the toilet, check the flange and the floor to assess the current situation before proceeding with leveling. The next steps will guide you through this process effectively.
Removing the Toilet
- Unscrew the Toilet from the Floor: Remove the nuts securing the toilet to the floor.
- Lift the Toilet Off: Gently rock the toilet side to side and lift it straight up.
Assessing the Floor and Flange
After removing the toilet, it’s vital to evaluate the condition of the flange and surrounding area.
| Condition | Action Required |
|---|---|
| Flange is damaged | Replace the flange |
| Flange is secure but unlevel | Add shims |
| Floor is uneven | Consider floor repair |
Leveling the Toilet
Now that you’ve assessed the state of the toilet and surrounding area, it’s time to get to the leveling.
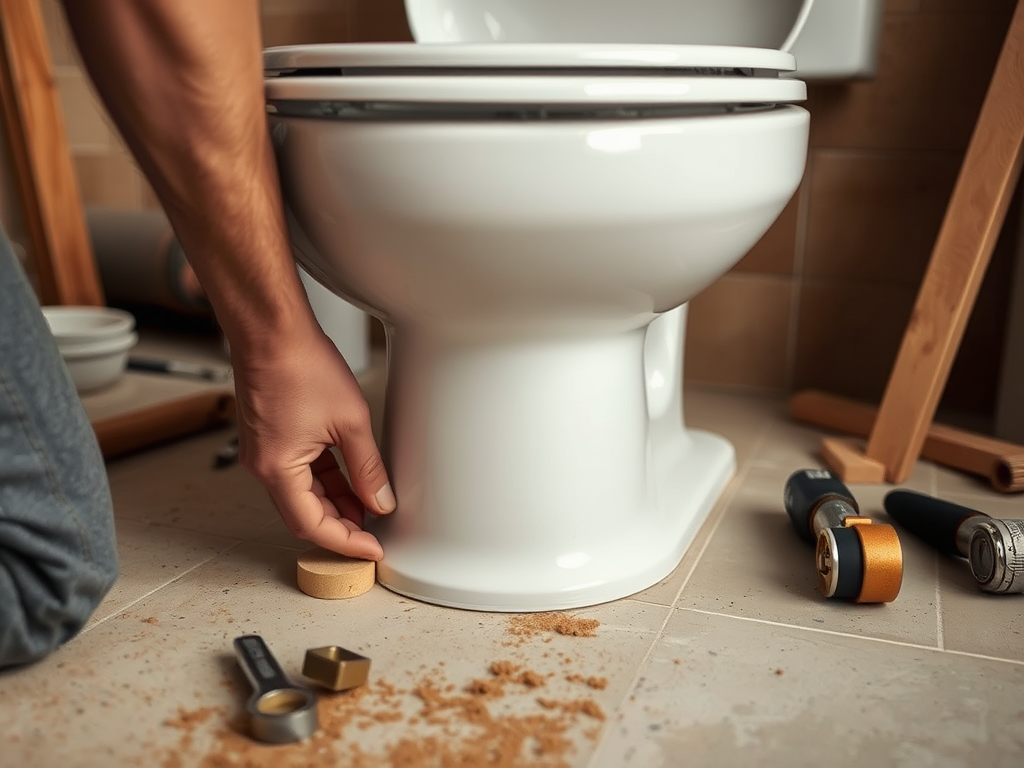
- Add Shims if Necessary: If the flange is lower on one side, carefully place shims under the flange to lift it to a level position.
- Secure the Flange: Once the flange is held level, ensure it is securely fastened to the floor to prevent future movement.
Reinstalling the Toilet
With the toilet now level, you can move forward to reinstate it to its rightful place. Begin by preparing the wax ring before setting the toilet back onto the flange. Follow the steps below to ensure a secure installation:
- Install the Wax Ring: Place a new wax ring on the flange so it can create an effective seal.
- Set the Toilet: Carefully align the toilet with the flange and push it down gently.
- Tighten the Bolts: Carefully tighten the nuts onto the bolts without overtightening, to avoid any breaks or cracks in the porcelain.
Additional Considerations
After successfully leveling and reinstalling your toilet, make sure you consider the final touches to your project. Sealing the base of the toilet can prevent water damage and maintain a clean appearance. Reconnecting the water supply is equally essential to ensure your toilet functions properly after installation. Below are a couple of important steps you must not overlook:
Sealing the Base
Once the toilet is securely in position, apply caulk around the base. This sealing will ensure a watertight grip, preventing any future leaks.
Reconnecting the Water Supply
Finally, be sure to carefully reconnect the water supply line and turn the water back on. After this step, you can check for leaks by flushing the toilet and observing if everything operates smoothly.
Conclusion
Leveling your toilet may seem challenging at first, but with the right guidance, it can turn into an easy task. Being proactive in managing home repairs not only fosters a sense of accomplishment but also saves you on potential plumbing bills. A properly installed and leveled toilet enhances both functionality and aesthetic value to your bathroom. Remember, if you follow the steps presented earlier, you should have no trouble achieving a perfectly balanced toilet. So, roll up your sleeves, grab your tools, and take on this satisfying DIY project!
Frequently Asked Questions
- Why is it important to level my toilet? A level toilet helps prevent leaks, ensures proper functioning, and avoids damage to your flooring.
- What tools do I need to level my toilet? You will need an adjustable wrench, level, screwdriver, bucket, sponge, and shims.
- Can I level a toilet by myself? Yes, with the right tools and a little patience, you can level your toilet by yourself.
- What should I do if my toilet flange is broken? If the flange is broken, you may need to replace it before attempting to level the toilet.
- How do I know if my toilet is level? Use a level placed across the toilet bowl to check for any tilt from side to side or front to back.