Zippers are often the unsung heroes of our everyday lives, functioning seamlessly behind the scenes in clothing, bags, and various other items. However, when they malfunction, they can quickly turn from a convenience into a source of aggravation. Many individuals may feel a wave of frustration wash over them when they encounter a stuck zipper or a broken slider, especially when they need the item urgently. Fortunately, effective zipper repair is not just reserved for professionals; with the proper tools and techniques, anyone can tackle these issues confidently at home. This article delves into the essential tools you need for successful zipper repairs, offers practical step-by-step guides, and even provides useful preventative tips to prolong the life of your zippers. Whether you’re facing a minor inconvenience or a significant malfunction, we’ve got you covered.
Understanding Zipper Problems

To effectively fix a zipper, it’s critical to first understand the common problems that can arise. Zippers may appear straightforward, but they are made up of various components each playing a vital role in their functionality. Some of the most frequent issues include zippers that become stuck or jammed, teeth that don’t align correctly, sliders that refuse to budge, or fabric that inadvertently gets caught in the zipper. Identifying the specific problem will not only save you time but also help you choose the most appropriate repair tools and techniques. Being aware of these typical issues makes the subsequent repair process more manageable and less daunting. Addressing these problems promptly can prevent further damage and ensure your items remain in excellent working condition.
- Zipper stuck or jammed
- Teeth not aligning properly
- Slider not functioning
- Fabric caught in the zipper
Essential Tools for Zipper Repairs

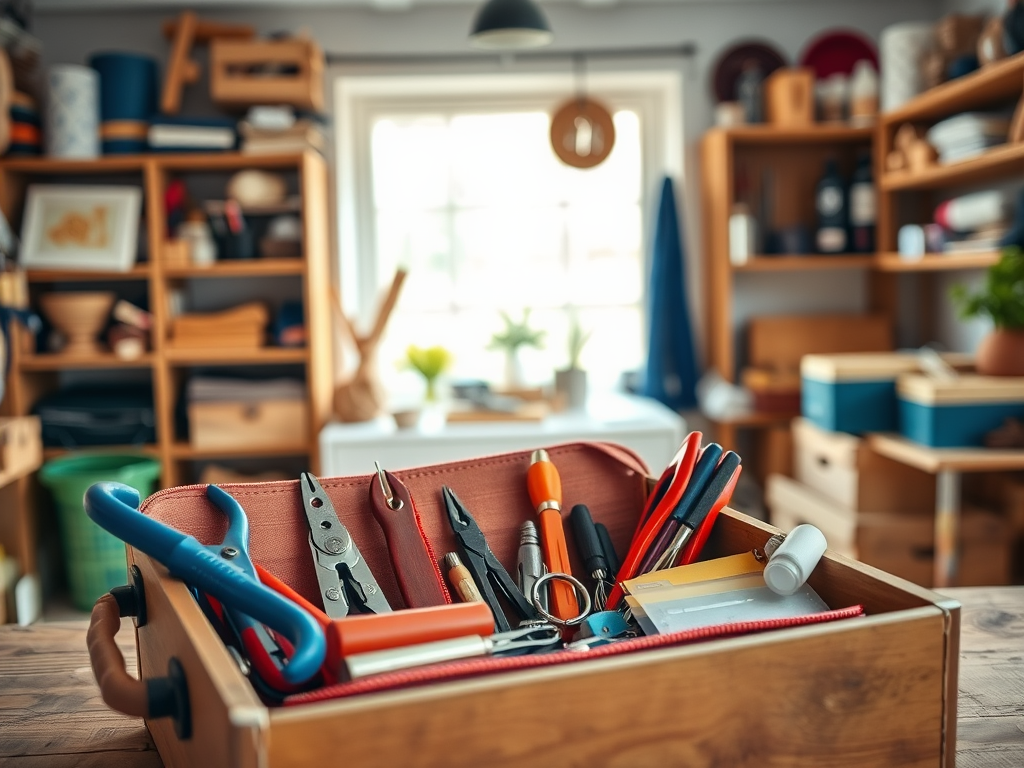
Equipping yourself with the right tools can make zipper repairs not only easier but also more effective. Having these tools on hand minimizes the need to make a special trip to a store or tailor. Here are the essential items every household should possess for zipper maintenance. First, a quality needle and strong polyester thread are indispensable for tasks like reattaching a zipper pull or reinforcing loose stitching. Second, consider investing in a comprehensive zipper repair kit; these kits often include various sliders, stops, and even replacement teeth, providing quick fixes and extensive repairs at your fingertips. Third, pliers can be beneficial for crimping or resizing sliders. They can also ease the removal of broken pulls without damaging surrounding fabric.
In addition to the basic tools mentioned, several other items can enhance your repair kits. Here’s a short list of useful tools that can come in handy:
- Seam ripper for removing stitches
- Zipper lubricant for smooth operation
- Fabric glue for securing loose edges
- Pin or clip for holding fabric in place during repairs
| Tool | Description | Purpose |
|---|---|---|
| Needle and Thread | Basic hand-sewing tools | For stitching and reinforcement |
| Zipper Repair Kit | A collection of various zipper parts | Comprehensive repairs for multiple issues |
| Pliers | Tool with gripping surfaces | For resizing and manipulating sliders |
| Seam Ripper | Specialized cutting tool | For removing stitching |
Step-by-Step Guide to Using These Tools
Using the right tools effectively is key to successful zipper repairs. Here’s a quick guide on how to utilize the tools mentioned above for the most common issues. First, when addressing a stuck zipper, identify the cause by checking if any fabric is caught in the mechanism. If the slider remains stuck, gently maneuver it with pliers to see if it budges. In cases of stubborn zippers, applying a zipper lubricant can often do the trick. Positive results often depend on persistence and the right approach.
After addressing a stuck zipper, you may need to replace the slider entirely. Begin this process by utilizing a seam ripper to remove the old slider. Be cautious while doing this to avoid any additional damage to the surrounding fabric. Once the slider has been removed, carefully slide the new slider onto the zipper teeth. Before you finish, be sure to test how smoothly the new slider operates to confirm that the replacement was successful. This simple repair can save items that would otherwise be deemed unusable.
Preventative Measures for Zipper Longevity
To prolong the life of your zippers, implement these simple preventative measures that can save you time and effort in the long run. Regularly clean the zipper track to prevent dirt buildup, which can lead to sticking. Avoid overloading bags and zippers to reduce strain that can cause them to break. Additionally, it’s a good idea to lubricate metal zippers occasionally with either wax or silicone to keep them functioning well. If you practice these tips regularly, your zippers can offer consistent service without frequent breakdowns. Remember, maintain what you value, and zippers are no exception.
Conclusion
Effective zipper repairs at home don’t require professional skills or extensive experience. By properly utilizing the tools mentioned and understanding the common problems that zippers face, anyone can tackle most zipper issues quickly and efficiently. Investing in essential tools, recognizing typical zipper malfunctions, and following straightforward repair guidance can result in smooth-functioning zippers for years to come. So the next time you encounter a zipper challenge, don’t hesitate to reach for your toolkit. With a little practice, you’ll find that fixing zippers can be a satisfying and uncomplicated task.
Frequently Asked Questions
- What is the best lubricant for zippers? Silicone spray or wax-based lubricants are recommended for smooth operation.
- Can I replace a zipper slider without sewing? Yes, if you have a slider that can be clipped on, replacement can often be done without sewing.
- How often should I lubricate my zippers? It’s a good practice to lubricate zippers every few months, especially for items that are frequently used.
- What should I do if my zipper teeth are misaligned? Gently realign the teeth using pliers, ensuring not to damage the fabric.
- Are zipper repair kits worth it? Absolutely! They provide multiple components for various repairs and can save you a trip to the tailor.